by Alex Brown | Feb 22, 2017
How a trip to Grand Teton National Park ended with no sunrise or sunset… just simple winter photography.
On my recent photo workshop trip, we woke up at 4:30am and made our way from the Sky Mountain Lodge in Victor, Idaho through Jackson, Wyoming into Grand Teton National Park.
Our intention was to get a beautiful sunrise featuring alpenglow of the majestic Teton mountains. Alpenglow occurs when the tips of the mountains are glowing bright orange – a result of the sun that has already slipped over the horizon. For the Teton mountains, alpenglow occurs minutes before the official sunrise.
So instead of getting shots of a white snow-covered mountain contrasted with the bright colors of sunrise, I embraced the white canvas of the snow covered land capturing simple winter photography.
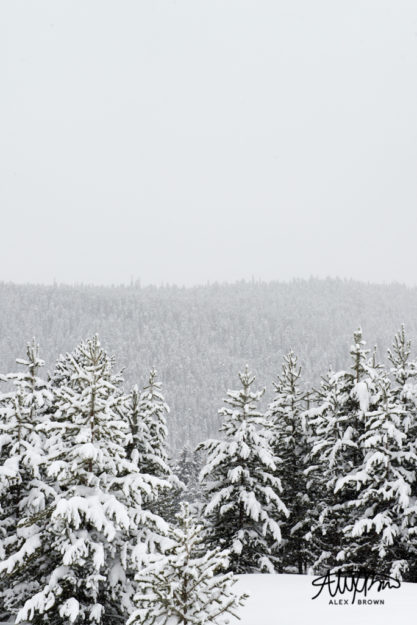
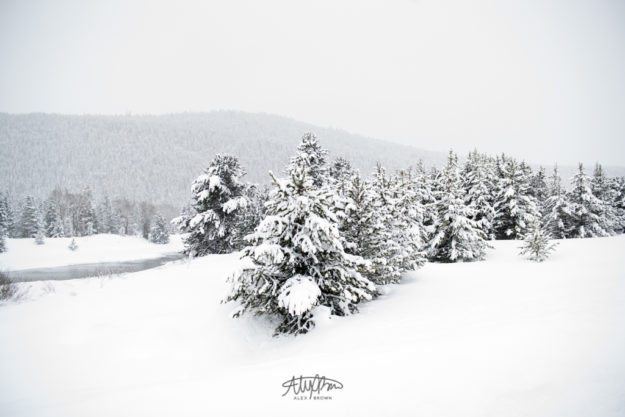
Most of my photos for this post are black and white. The reason I changed them into black and white was because I felt with what little color was present in the picture became a distraction… this is simple winter photography after all.
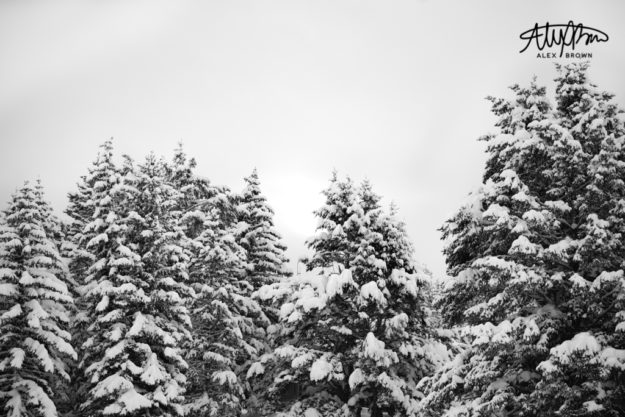
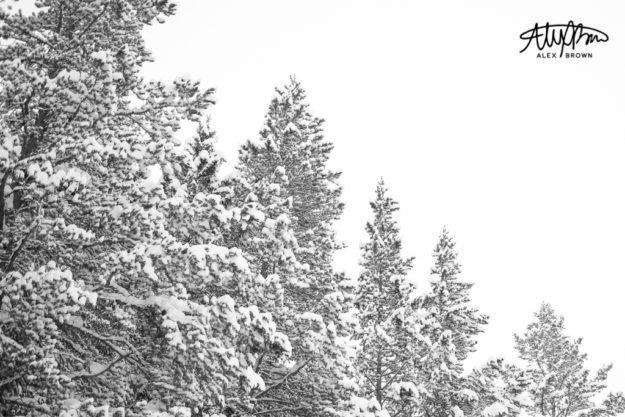
Composition is key when it comes to simple winter photography. Anyone can take pictures of snowy trees with a winter landscape behind them, but what makes the difference is the composition. Always have your horizon lines on the rule of thirds. Or better, find different more intriguing ways for this, such as diagonal alignment.
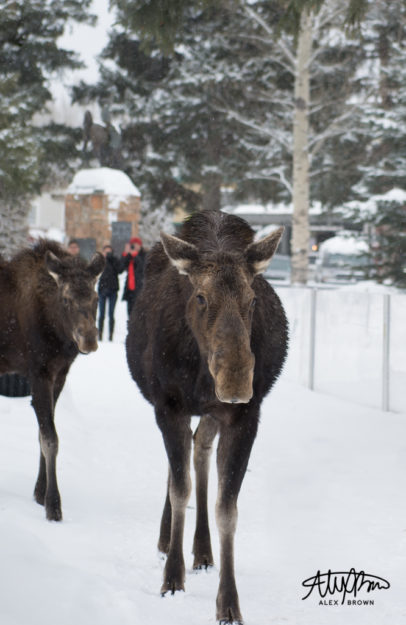
While in Jackson, Wyoming, we were visiting local fine art photography galleries, but were interrupted by two moose in the town square. While some of our photographers got yelled at by bystanders for getting too close, I got this awesome shot which sums up Jackson Tourism: Wildlife photography.
DON’T CLOSE THAT SHUTTER YET…
-CAB
by Alex Brown | Feb 22, 2017
How to photograph the night sky and get amazing long exposure star pictures – even if it’s cloudy.
This past presidents day weekend, I was able to rent two lenses for my Nikon Full-Frame D600. I have already used Nikon’s 70-200mm f/2.8 lens before, but I was most excited to try out Rokinon’s Ultra Wide Angle 14mm f/2.8. Rexburg, Idaho is located one hour west of the Teton Mountain range so our weather is beyond bipolar, it’s straight up strange, which isn’t the best for photographing the stars with night sky photography.
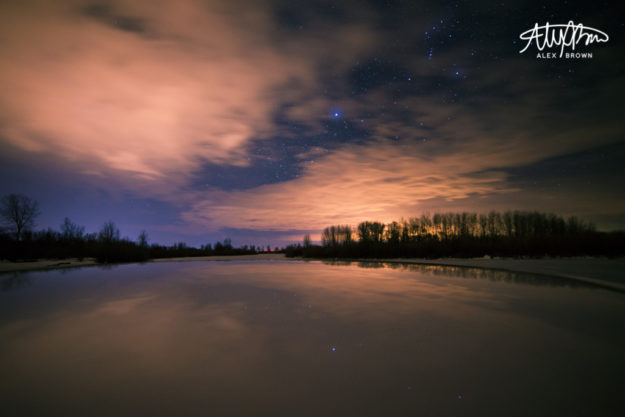
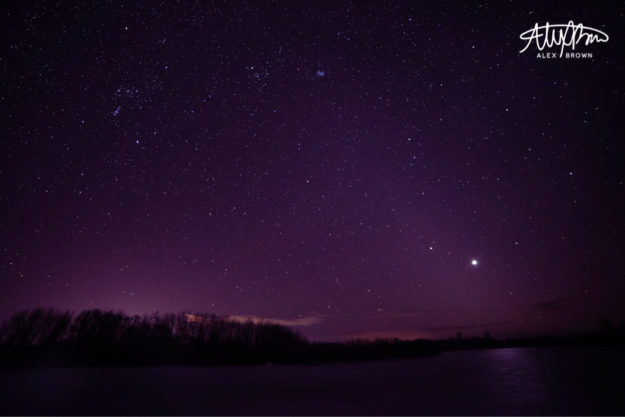
Most people would think that in order to get an awesome night sky photograph, the weather conditions have to be clear. Based upon your personal style, this might be true, but when it comes to night sky photography, I love being able to see the wispiness of the clouds – a natural bi-product of long exposure and night sky photography. However, what I didn’t know was if the clouds are thin enough, you can see through and get stars, like this beautiful night sky photography below!
LESSON 1: BALANCING THE LIGHT
Key Tip: If you take a night sky photograph and it’s too bright, always start by dropping down your ISO as you will end up with a less noisy image. If it’s still too bright, decrease your aperture (choose a higher f/number). Also, if the moon is out start with ISO 100.
I took this night sky photo about 5-8 miles outside of Rexburg city limits in a local park at around 10:30pm… so not sunset! I love this photo because it showcases one of the most important aspects when it comes to night sky photography: light pollution. Light pollution is the worst enemy to night sky photography (besides thick cloud decks and the moon).
When your camera shutter is open for a lengthy period (15 seconds in this instance), it has all that time to collect the information, light, and create the pixels for the photograph. When combined with a wide aperture (low f/number) and a high ISO, night sky photography often becomes white sky photography, because it’s not only collecting the natural light from the city or the pollutant’s area, you’ve told the camera to add in more light while being more sensitive to light!
The settings for this night sky photograph were ISO 2000, 15 seconds @ f/3.2, 14mm. When I took this picture, I couldn’t figure out where this light source was coming from, but I did know that it was just too bright for my settings, so I adjusted accordingly.
I loved looking at this gallery of Giovanna Griffo’s Incredibly Stunning Night Sky Photography. Think about how much practice and skill it takes when it comes to balancing the light by adding in the foreground elements.
LESSON 2: EDITING THE NIGHT SKY IS REQUIRED.
Key Tip: Use curves in Photoshop or Lightroom to adjust your night sky photograph, bringing out different colors. Go a step further by masking out only certain aspects of the image.
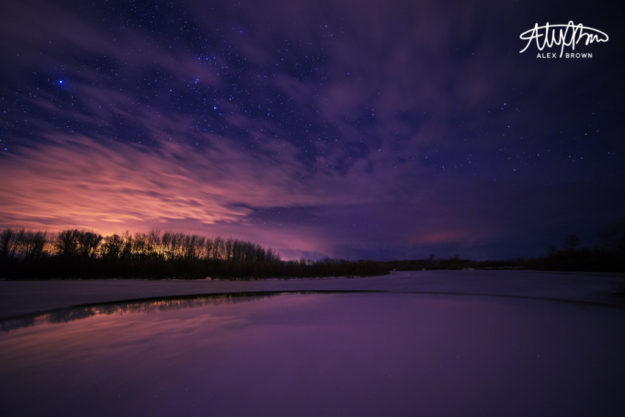
I think the image above is a pretty spectacular night sky photograph on its own. But what if it went on a date and married Photoshop and Lightroom? Well, let’s say that they make good-looking kids.
The first image I showed you was edited “naturally”. This is a term that I personally coined when it comes to night sky photography and basically it means that any edits made – specifically with color – are not as powerful and are more realistic to what the scene was really like. But, it doesn’t hurt to go a step beyond either.
When editing night sky photography, it’s best to use the curves panel and adjustment masks to get color where you want it and when you want it on your image. But don’t just use the RGB curves… use the individual Red, Green and Blue Channel curves when editing night sky photography. Why? It gives you more control over your color and when combined with masks you are able to hide and reveal certain areas of the image. On this picture above, I actually kept the color of the light-polluted clouds from the camera because the transition to the purple hues was less harsh.
LESSON 3: FOCUS ISN’T FREE, IT’S FOUND
Key Tip: It’s okay if you forget to focus ahead of time… just know that it’ll take a bit longer to get a good focus on the night sky. Also, you don’t always have to use a tripod… look for other objects that you can set your camera on that would create and add interest.
With night sky photography, you don’t necessarily have to use a tripod. For the first two images on this post, I set my tripod on top of my white car. By doing this it gave it a nice surface to reflect off of and it almost looks like it’s a thawing lake. Sorry if I had you fooled.
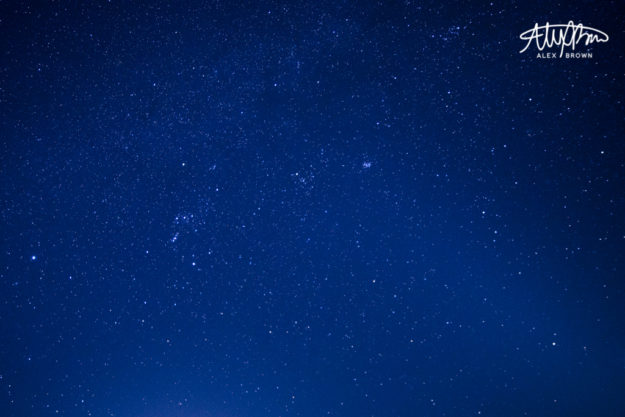
Having sharp and clear stars is the primary goal of any night sky photographer. While there are different methods on how to properly focus the night sky, my favorite is trial and error. While each camera and lens is different, the best thing is to start with infinity on the focus ring, and work your way until you get nice tack-sharp stars. Once you get that, always remember that because it makes focusing easier on other star trips.
Focusing stars is kind of a two-fold system with night sky photography. The second part of this system is sharpening. Always make sure you sharpen your stars image as it will bring out the detail of even more stars — stars you thought weren’t even in the night sky! But remember… no amount of post-production sharpening can make a blurry image sharp! If you’re a photographer and you’ve never taken a blurry image, I’d love to meet you and learn your secret!
DON’T STOP THE SHUTTER YET…
Here are my other three top picks when it comes to Night Star Photography
Dave Morrow’s Nigh Sky Photo Tutorial on 500px ISO
Alysa Bajenru’s Begginer’s Guide to Night Sky Photography
Popular Photography’s How-To: Shoot Epic Night Sky Landscapes
-CAB
by Alex Brown | Feb 15, 2017
Some inspiration for those trying to make sense of Macro Photography
Macro photography is always super fun but is crazy ridiculous to shoot because you have to keep so still!
When shooting macro photography, there are three main ways that you are able to nail getting sharp water drops on flowers, still life or even a dead fly.
- Dedicated macro lens – it’s best to have one that is around 85mm – 120mm… 100mm is the best focal length.
- Macro Extension Tubes – The purpose of macro extension tubes is to extend the distance of your lens to the subject. Macro extension tubes are my favorite to shoot with!
- Macro Close-up Filters – Macro close-up filters are lens filters that screw onto the front of your lens and magnify the area. They come in different strengths. I personally am not a fan of using close-up filters when it comes to macro photography because it produces some distortion and chromatic aberration.
With my macro extension tubes locked and loaded, I tackled the world of macro photography, one water drop at a time.
FLORA/FAUNA
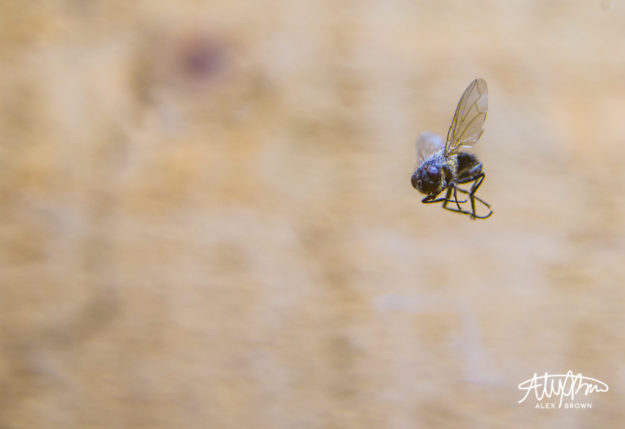
This fly was actually trapped in a spider’s web! I love this macro photograph because you can see the small details on his antennae in addition to the delicacy of the wing structure. Plus he kinda looks like a wasp springing into action.
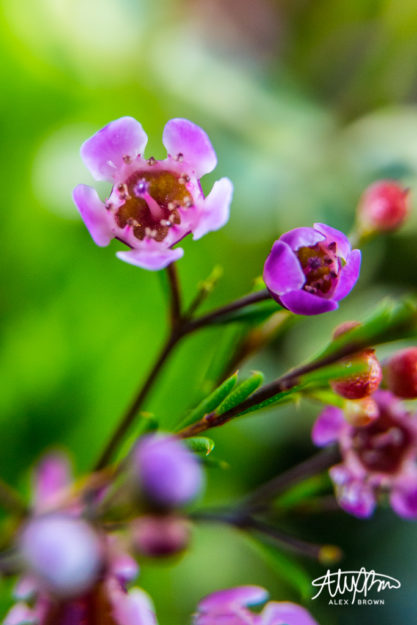
This is one of my favorite shots on this macro photography run! I love how there is a variety of depths, focus and colors in this picture. You have the beautiful foreground blurring and nice shallow depth of field that then sweeps into a nice sharp macro photograph of the violet and pink flower. Furthermore, I love the red berries off to the right because they’re so unexpected!
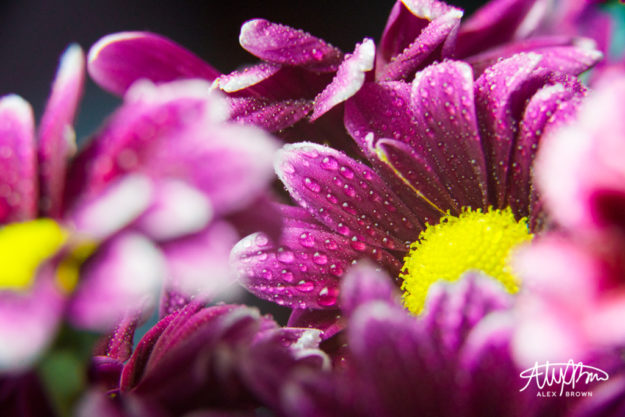
When you frame your subject you not only create interest but you also help showcase your focal point. With macro photography, bokeh and shallow depth of fields come naturally and when combined with framing your subject, you get a beautiful macro photograph thanks to the dynamic duo!
Check out these 55 Beautiful Macro Flower Pictures!
WET WITH WATER
Macro photography is ten times better when you involve water and water drops! When you involve water drops in macro photography one of two effects can be created:
- Fisheye-like lens: The water drop acts like a fisheye lens as it magnifies whatever’s in front of it (whether you put it there or not!)
- Morning Dew: Depending on how much water you add, the water drops can become like the morning dew
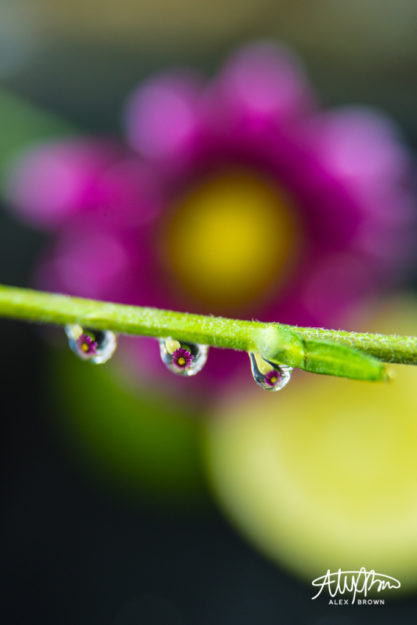
This macro photograph is a fisheye of a beautiful flower with a lime next to it.
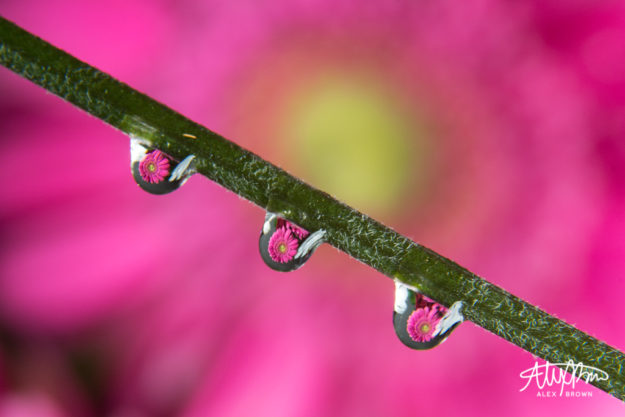
I love the composition of this macro photograph because of how the stem is diagonally separating the flower, creating TWO focal points! The upper half’s focal point is the yellow center of the flower, while the lower focus point are the fisheye lens water drops!
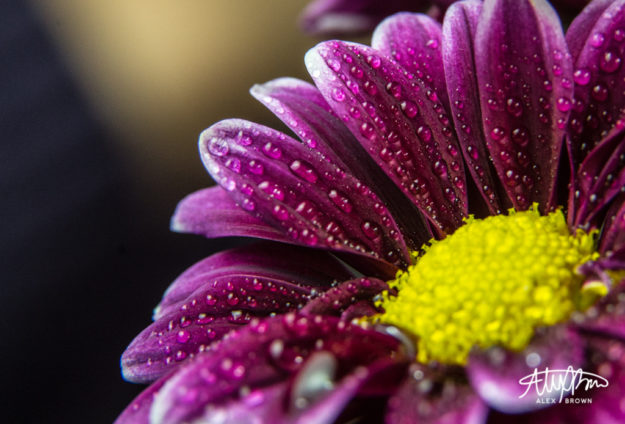
This is a great example of the morning dew effect. The thing that I want to point out in this photograph is the contrast of the neutral colors in the background. The neutral tones help complement the beautiful colors of this flower.
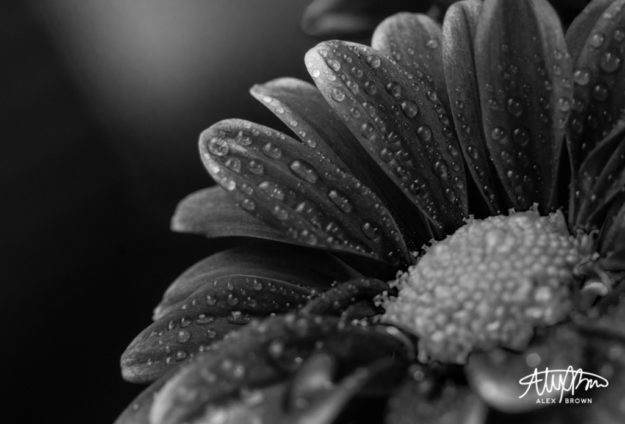
Macro is great for Black and White. I love how the mood completely changes when compared to the color!
ABSTRACT AND STILL LIFE
Abstract art is one of my favorite things to create with photography. I love how macro photography allows you to take every day objects and find different and new perspectives!

Macro photograph of threads from a knitted scarf. I love how colorful this is and how the leading lines lead you into the bokeh!
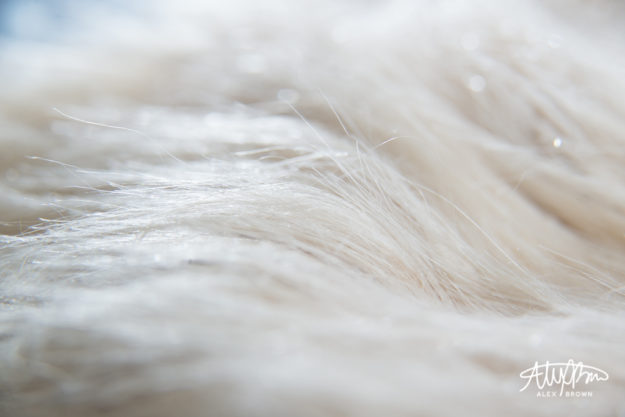
The fine threads in this fur combined with the light blue in the background create beautiful abstract waves!
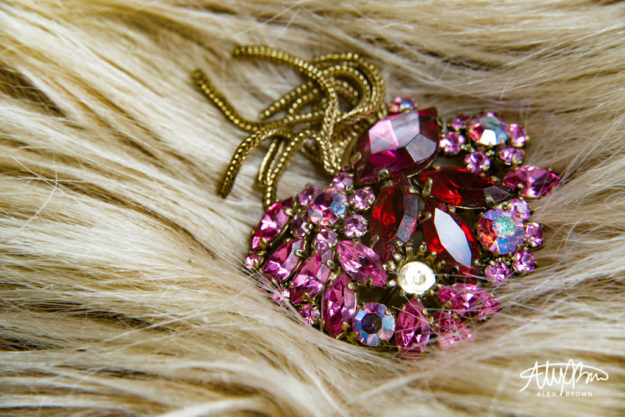
Macro photography also produces awesome results when you involve a contrast of textures! The beautiful shine of the broach against the blonde fur (it really is fur) is beautiful!
by Alex Brown | Feb 15, 2017
SOME INSPIRATION FOR THOSE TRYING TO MAKE SENSE OF MACRO PHOTOGRAPHY
Macro photography is always super fun but is crazy ridiculous to shoot because you have to keep so still!
When shooting macro photography, there are three main ways that you are able to nail getting sharp water drops on flowers, still life or even a dead fly.
- Dedicated macro lens – it’s best to have one that is around 85mm – 120mm… 100mm is the best focal length.
- Macro Extension Tubes – The purpose of macro extension tubes is to extend the distance of your lens to the subject. Macro extension tubes are my favorite to shoot with!
- Macro Close-up Filters – Macro close-up filters are lens filters that screw onto the front of your lens and magnify the area. They come in different strengths. I personally am not a fan of using close-up filters when it comes to macro photography because it produces some distortion and chromatic aberration.
With my macro extension tubes locked and loaded, I tackled the world of macro photography, one water drop at a time.
Macro photography is ten times better when you involve water and water drops! When you involve water drops in macro photography one of two effects can be created:
- Fisheye-like lens: The water drop acts like a fisheye lens as it magnifies whatever’s in front of it (whether you put it there or not!)
- Morning Dew: Depending on how much water you add, the water drops can become like the morning dew

This macro photograph is a fisheye of a beautiful flower with a lime next to it.

I love the composition of this macro photograph because of how the stem is diagonally separating the flower, creating TWO focal points! The upper half’s focal point is the yellow center of the flower, while the lower focus point are the fisheye lens water drops!

This is a great example of the morning dew effect. The thing that I want to point out in this photograph is the contrast of the neutral colors in the background. The neutral tones help complement the beautiful colors of this flower.

Macro is great for Black and White. I love how the mood completely changes when compared to the color!
by Alex Brown | Jan 21, 2017
Instead of thinking about life through a lens, start living it; Capturing amazing moments of real life with street photography and still life photography.
Think of your daily route to work or school. You do it so often it becomes boring and ordinary. I know there have been times when I’ve noticed something and I’ve contemplated whether or not it’s new or if something has changed. Most likely, it probably it hasn’t.
I was challenged to merge my ordinary real life with my creative mind in something called OS-ES. After attending a conference and workshop, photographer and visual communications professor Caryn Esplin was amazed by the work of Roberto Valenzuela – specifically how he was able to take an ordinary spot and turn it into an extraordinary shot (OS-ES).
Street Photography
Living in Idaho, urban and street photography is something that is somewhat hard to come by. As I was driving around Eastern Idaho, I came by this ordinary spot and was fascinated by how the light created abstract shadows against these concrete walls. You’re going to have to wait to see the ordinary spot, but here’s the extraordinary shot I got:
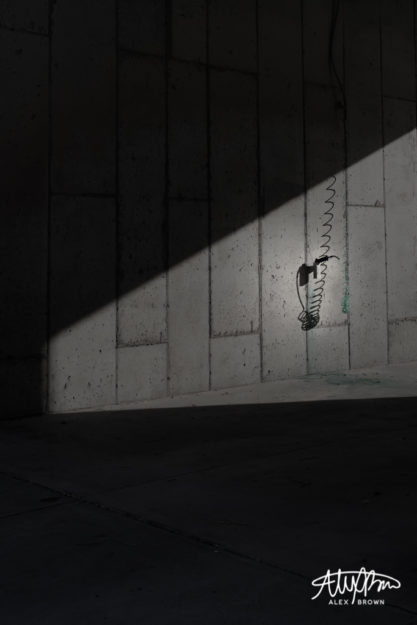
Extraordinary Shot
What I love most about this image is how thoughtful and contemplative it is. It’s conceptual in nature. I took this shot with the intent of making the viewer try to think about exactly what it is. Not only did this remind me of my Eucalyptus Euphoria project, it reminded me of what the great street photographer, Eric Kim, mentions in his guide to street photography:
Not all street photography needs to be super emotional. Some street photographs are purely visual images– that appeal to our sense of geometry, composition, and composition. These images are generally shot in good light with nice lights and shadows, have strong diagonal lines, leading lines, curves, and shapes of interest
Still Life Photography
Still life photography is a lot like street photography, except you capture the emotion and pause the life of inanimate objects. I thought a lot about how I could get an extraordinary shot out of an ordinary spot. I think because of this, I tended to overthink it. After changing out my camera battery, I was just browsing in my room and I noticed not only how the light from the window was hitting my roommate’s bed, but also how he “set” his covers up before he went boarding this morning.
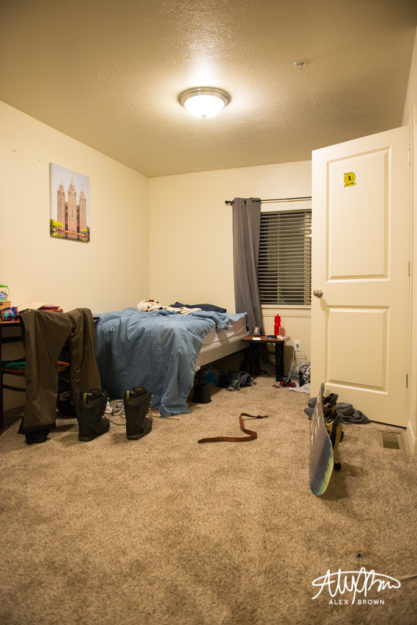
Ordinary Spot

Extraordinary Shot
With photography, my favorite angle is the lowest angle possible. So, when I got lower and closer to his bed, I noticed his pair of jeans on the floor. And then the creativity happened with this shot. Who knew an ordinary pair of jeans could turn in to such a dramatic still life photograph?! (I guess he now has an excuse for not picking his clothes up off the floor.)
Oh… before I forget. Here’s the ordinary spot of the first picture. Also, check out Megan Graham’s challenge with OS-ES.

Ordinary Spot
by Alex Brown | Jan 14, 2017
Create dramatic photographs with a simple lighting technique that results in low key portraits and epic photographs
Epic. Dramatic. Softness. These are just a few adjectives that describe low key photography. Before shooting for this post, I’ve always had a fascination with any photographs that had a white background or were high key. Not only are photographs with a white background clean and sterile, they don’t distract from the subject. However, once you go black, you don’t go back.
Chiaroscuro and Key Values
Value is an elemental term in visual arts that relatively describes the amount of lightness or darkness that is present in a photograph or piece of artwork.
When we say the term low key we are describing a piece that is darker in it’s toning, coloring which creates a more dramatic, moody and emotional photograph or work. When an image is high key, overall the work is lighter and brighter creating a more simplistic and peaceful photograph or work.
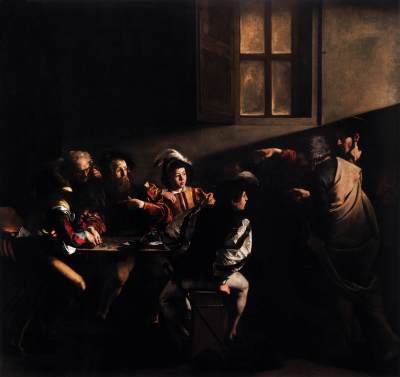
During the Renaissance and Baroque periods, painters struggled with how to successfully translate a three-dimensional object onto a flat surface. In order to solve this problem, painters instituted a technique called Chiaroscuro, meaning light (chiaro) and dark (scuro). This technique resulted in high-contrast paintings that were dramatic and powerful. Take a look at some of Flickr’s top Chiaroscuro picks here.
Highlight of History: Caravaggio
Source: Web Gallery of Art
Caravaggio was a Baroque Italian painter who made the chiaroscuro style famous. Most of his works feature a dark background and are highly contrasted with his subjects, which where illuminated intensely or dimly.
Caravaggio’s piece, The Calling of Saint Matthew, exemplifies his strong use of and attention to light and value. Caravaggio creates a strong dramatic image with the soft lighting from the beam shining into the room which creates a deep contrast between the variations of textures and colors. Overall, more rich and deep tones result in a low-key value.
Studio Quality Lighting with an Invisible Black Backdrop
Photographer Glyn Dewis has formulated a technique that allows any photographer, no matter where they are, to shoot on an invisible black backdrop with camera settings and a speedlight. The end result is a beautiful photograph with studio quality lighting and a subject against a black backdrop.
Depending on how the light is controlled, images shot with this technique can vary in value, however they are primarily low key images as the background is black. When shooting this technique, the photographer is able to decide whether or not the subject is lit brightly, or if it’s dim. I personally prefer dimmer images as it tends to result in a more dramatic photograph.
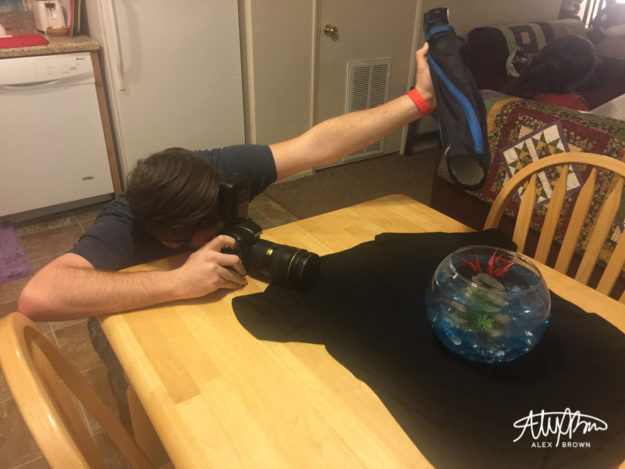
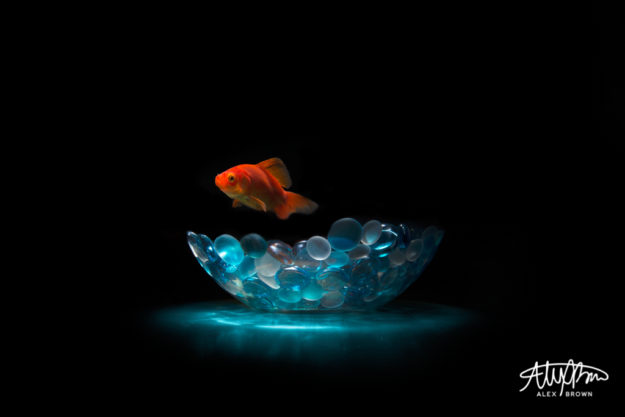
It’s amazing to see what everyday object you can take and turn into an amazing picture. Steven, who sits on my friends table, became a floating fish with this simple technique!
Low Key Portrait Photography
Low key portrait photography provides a dramatic and emotional look. When shooting low key portraits, you want to make sure that you have soft lighting.
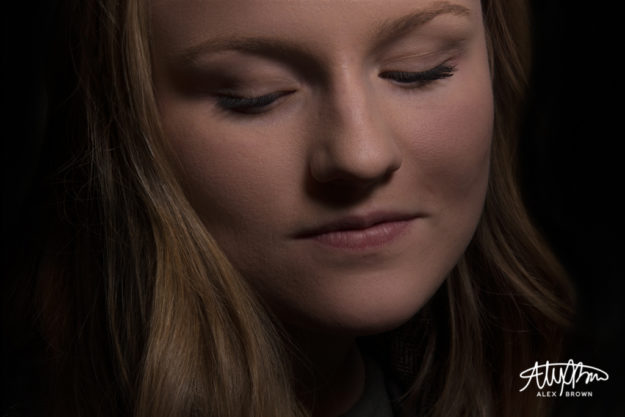
This was a picture I took of Baylie Madyson, a photographer and graphic designer here in Rexburg. This picture was taken in the corner of a room. I used my youngnuo speedlight with a large rouge flashbender and held it above her head. After playing around with the flash power, I finally landed this shot with amazing lighting. I love how the soft lighting turns this into an emotional photograph.
The soft lighting combined with Baylie looking down creates an emotional photograph, exuding grace, innocence and beauty. Furthermore, the soft light slowly feathers its way back, until it reaches the invisible black backdrop. I love how this has created a nice soft frame for her face while adding depth and drama.
You can learn more on how to shoot low key lighting on TutsPlus guide to shooting Low Key Lighting.
Epic Photographs with Black Backdrops
The invisible black backdrop technique also works great to achieve studio quality lighting for product and creative photography. Take for example this flower below.
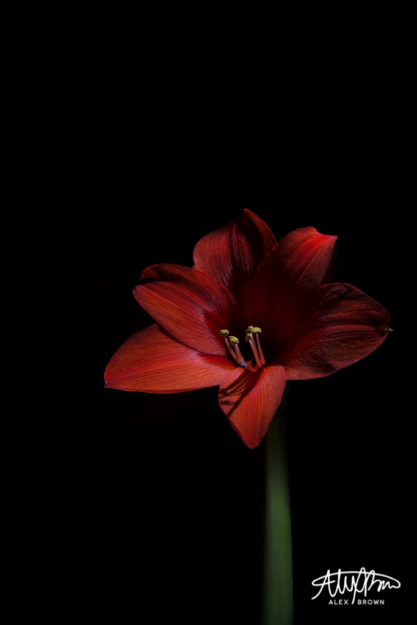
When capturing this, the light was positioned above the flower and off a bit to the right. Because of this, the flower itself has a higher key value as it is brighter than the stem which is softly and subtly light. The reason why this is such an epic picture is because of the angle and composition of the photograph. By getting low, you are able to make objects seem more surreal, especially things like flowers which could easily be swallowed up by this black background.


