by Alex Brown | Feb 15, 2017
Some inspiration for those trying to make sense of Macro Photography
Macro photography is always super fun but is crazy ridiculous to shoot because you have to keep so still!
When shooting macro photography, there are three main ways that you are able to nail getting sharp water drops on flowers, still life or even a dead fly.
- Dedicated macro lens – it’s best to have one that is around 85mm – 120mm… 100mm is the best focal length.
- Macro Extension Tubes – The purpose of macro extension tubes is to extend the distance of your lens to the subject. Macro extension tubes are my favorite to shoot with!
- Macro Close-up Filters – Macro close-up filters are lens filters that screw onto the front of your lens and magnify the area. They come in different strengths. I personally am not a fan of using close-up filters when it comes to macro photography because it produces some distortion and chromatic aberration.
With my macro extension tubes locked and loaded, I tackled the world of macro photography, one water drop at a time.
FLORA/FAUNA
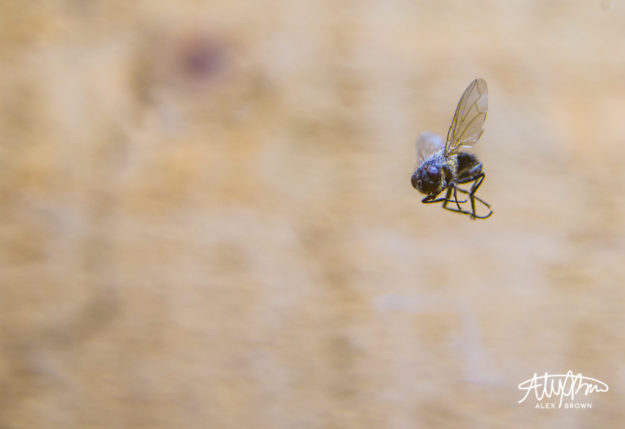
This fly was actually trapped in a spider’s web! I love this macro photograph because you can see the small details on his antennae in addition to the delicacy of the wing structure. Plus he kinda looks like a wasp springing into action.
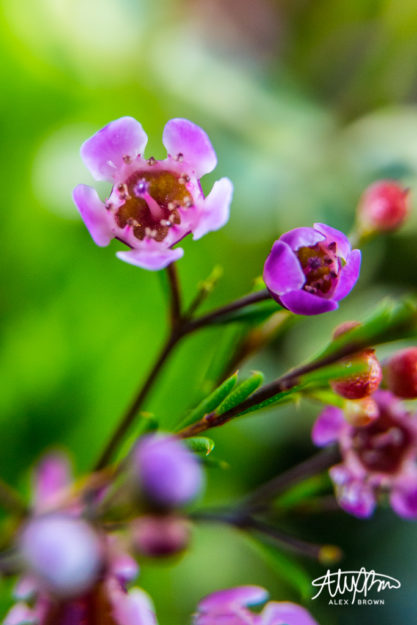
This is one of my favorite shots on this macro photography run! I love how there is a variety of depths, focus and colors in this picture. You have the beautiful foreground blurring and nice shallow depth of field that then sweeps into a nice sharp macro photograph of the violet and pink flower. Furthermore, I love the red berries off to the right because they’re so unexpected!
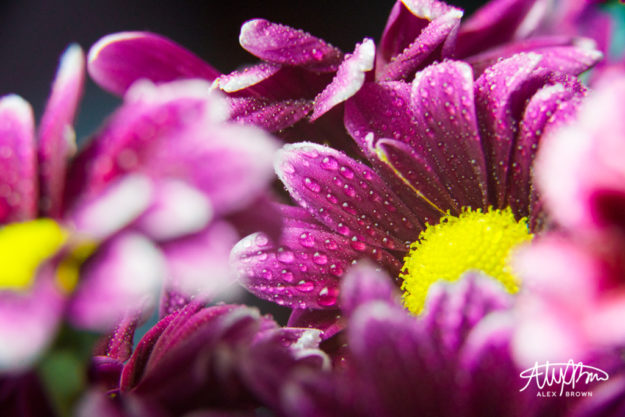
When you frame your subject you not only create interest but you also help showcase your focal point. With macro photography, bokeh and shallow depth of fields come naturally and when combined with framing your subject, you get a beautiful macro photograph thanks to the dynamic duo!
Check out these 55 Beautiful Macro Flower Pictures!
WET WITH WATER
Macro photography is ten times better when you involve water and water drops! When you involve water drops in macro photography one of two effects can be created:
- Fisheye-like lens: The water drop acts like a fisheye lens as it magnifies whatever’s in front of it (whether you put it there or not!)
- Morning Dew: Depending on how much water you add, the water drops can become like the morning dew
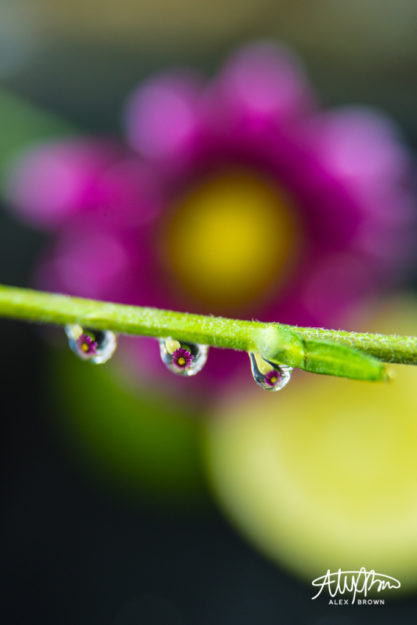
This macro photograph is a fisheye of a beautiful flower with a lime next to it.
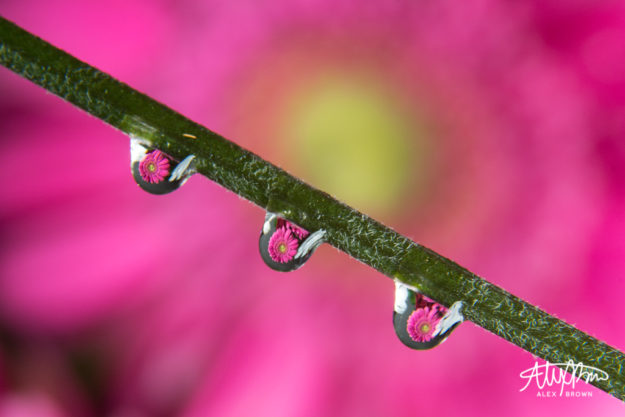
I love the composition of this macro photograph because of how the stem is diagonally separating the flower, creating TWO focal points! The upper half’s focal point is the yellow center of the flower, while the lower focus point are the fisheye lens water drops!
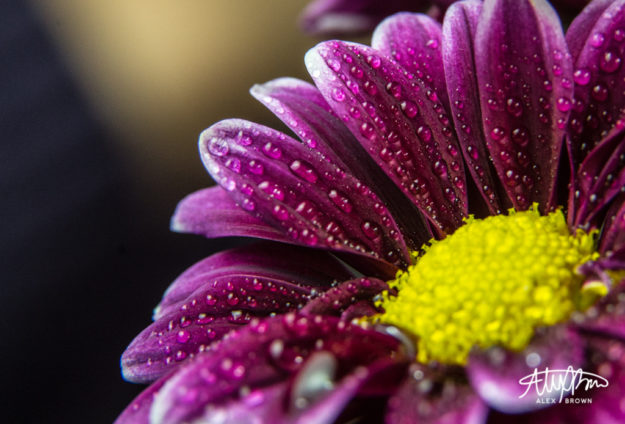
This is a great example of the morning dew effect. The thing that I want to point out in this photograph is the contrast of the neutral colors in the background. The neutral tones help complement the beautiful colors of this flower.
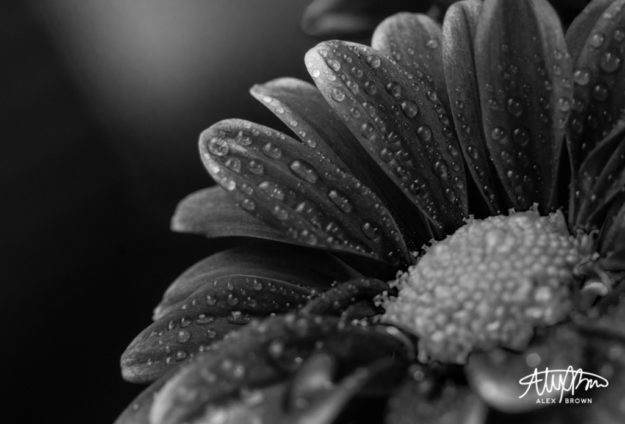
Macro is great for Black and White. I love how the mood completely changes when compared to the color!
ABSTRACT AND STILL LIFE
Abstract art is one of my favorite things to create with photography. I love how macro photography allows you to take every day objects and find different and new perspectives!
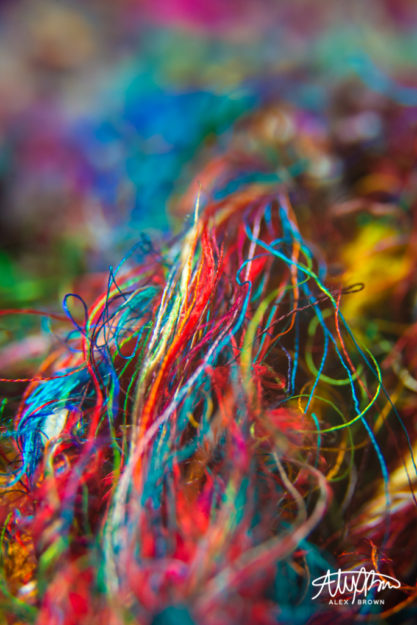
Macro photograph of threads from a knitted scarf. I love how colorful this is and how the leading lines lead you into the bokeh!
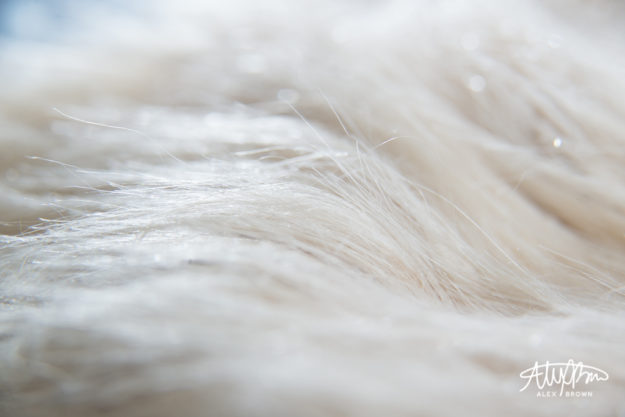
The fine threads in this fur combined with the light blue in the background create beautiful abstract waves!
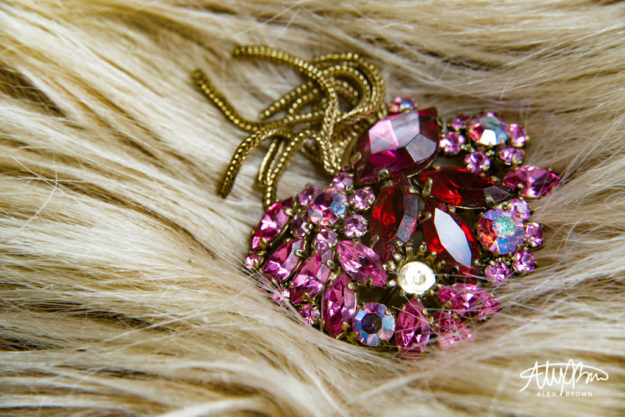
Macro photography also produces awesome results when you involve a contrast of textures! The beautiful shine of the broach against the blonde fur (it really is fur) is beautiful!
by Alex Brown | Feb 15, 2017
SOME INSPIRATION FOR THOSE TRYING TO MAKE SENSE OF MACRO PHOTOGRAPHY
Macro photography is always super fun but is crazy ridiculous to shoot because you have to keep so still!
When shooting macro photography, there are three main ways that you are able to nail getting sharp water drops on flowers, still life or even a dead fly.
- Dedicated macro lens – it’s best to have one that is around 85mm – 120mm… 100mm is the best focal length.
- Macro Extension Tubes – The purpose of macro extension tubes is to extend the distance of your lens to the subject. Macro extension tubes are my favorite to shoot with!
- Macro Close-up Filters – Macro close-up filters are lens filters that screw onto the front of your lens and magnify the area. They come in different strengths. I personally am not a fan of using close-up filters when it comes to macro photography because it produces some distortion and chromatic aberration.
With my macro extension tubes locked and loaded, I tackled the world of macro photography, one water drop at a time.
Macro photography is ten times better when you involve water and water drops! When you involve water drops in macro photography one of two effects can be created:
- Fisheye-like lens: The water drop acts like a fisheye lens as it magnifies whatever’s in front of it (whether you put it there or not!)
- Morning Dew: Depending on how much water you add, the water drops can become like the morning dew

This macro photograph is a fisheye of a beautiful flower with a lime next to it.

I love the composition of this macro photograph because of how the stem is diagonally separating the flower, creating TWO focal points! The upper half’s focal point is the yellow center of the flower, while the lower focus point are the fisheye lens water drops!

This is a great example of the morning dew effect. The thing that I want to point out in this photograph is the contrast of the neutral colors in the background. The neutral tones help complement the beautiful colors of this flower.

Macro is great for Black and White. I love how the mood completely changes when compared to the color!
by Alex Brown | Feb 11, 2017
Creating watercolors with Photoshop is fast, easy and fun!
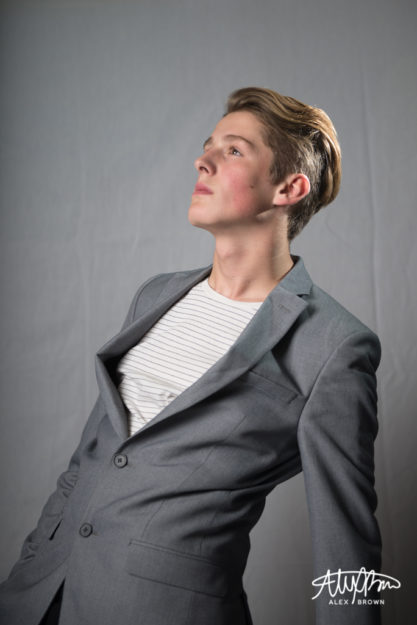
I had a lot of fun creating this watercolor piece in photoshop. I took this picture of Boston, a 15 year old model here in Rexburg, a few months ago at a shoot. When shooting this picture, I wanted to keep it simple. I love his facial expression and how he’s looking off to the left, but also his swagger in his stagger!
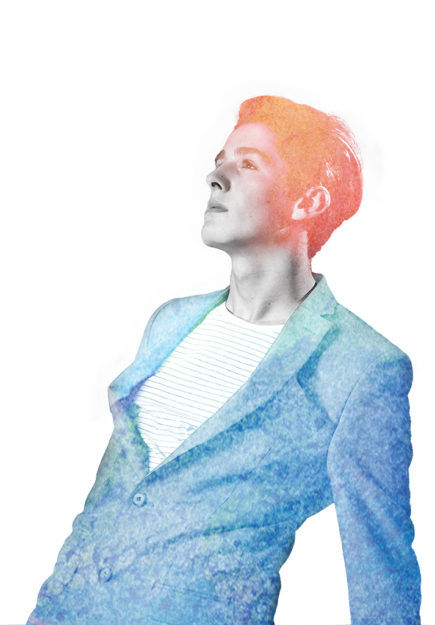
Creating watercolors in photoshop is way easier than I thought it would be. I started by following this tutorial, but eventually dropped off and started exploring on my own!
So you don’t have to watch the video, I’ll do a quick run through of what I did:
- Select and Mask the original photo so it would be against a white background
- Placed the image in a new document
- Desaturated the image 100%
- Added the Watercolor effect from the effect gallery
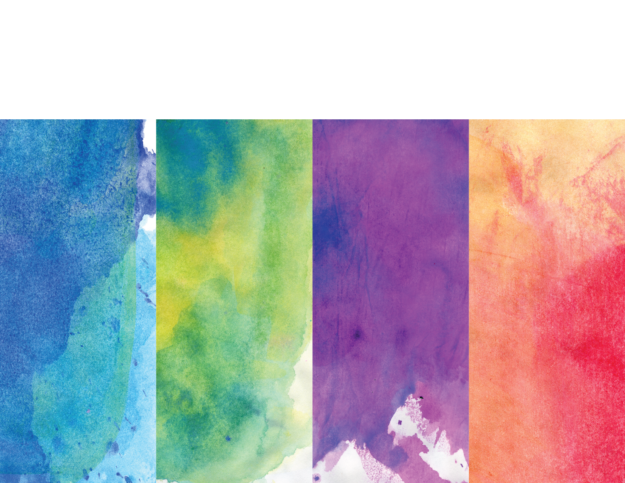
- Placed the blue watercolor image over my image with the screen blending mode
- Masked out with a brush the blue to only be on his suit
- Placed my orange and pink watercolor image on top with the lighten blending mode
- Masked out with a brush the orange to only be on his hair and then adjusted the opacity to slowly graduate off his face
I chose orange and blue since they are complementary colors and they looked awesome together! When placing the blue watercolor, I included more of the bright aqua tones at the top of his jacket because it was a much more vibrant contrast with the reds, oranges and pinks of the other watercolor in his hair!
Here is the original image of Boston that I used for this watercolor. I used the watercolor textures on a project a few years back so I can’t link to the original download anymore, but heres the file that I still do have and what I used!
by Alex Brown | Feb 11, 2017
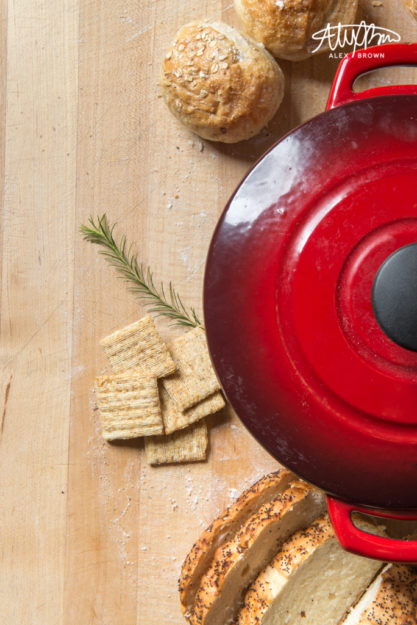
I finally had a chance to try out some stylized food photography while on a photo excursion. Styled food photography has become a new trend in the past year or so, and it was interesting to discover and test out some different ways on tackling this. I want to share with you my best tip when it comes to styled food photography which is changing the angle!
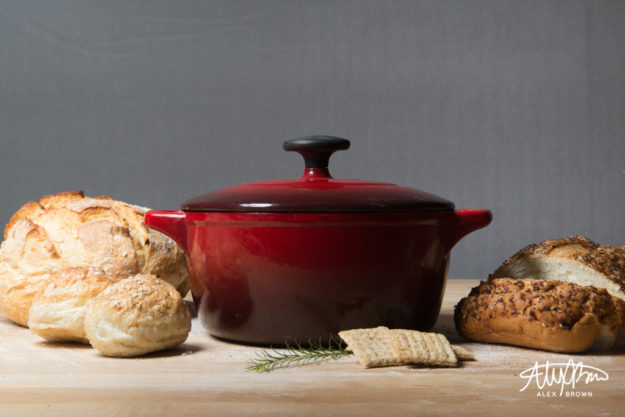
Straight On and Level
This angle creates a lot of shadow and gives the food depth. It also is the best for showcasing supporting items/ingredients in the background. The tabletop/counter isn’t as much as a focal point.
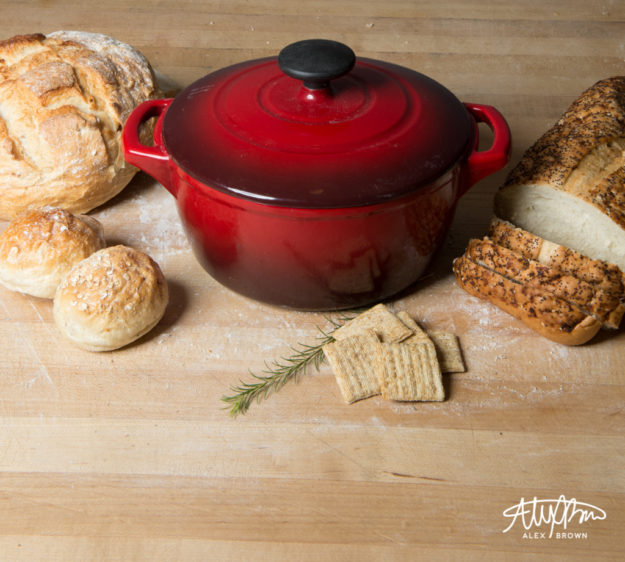
Bird’s Eye View
The reason I call this the bird’s eye view is because it reminds me of Bing Maps Bird’s eye view! This angle is good for showcasing the dimensional aspects of food. Furthermore, it helps viewers establish a spatial awareness of how big items are.
The Overhead
This style of food photography is probably the hero image of any stylized food photography shoot. When doing food photography, overhead shots are great because they allow you to see everything on the table and provide the most negative space if you need to include design elements. Furthermore, the image exudes simplicity and feels uncluttered.
When styling food photography, here are some tips that professional food stylists (yes, it’s a real thing) won’t tell you!
by Alex Brown | Feb 11, 2017
Get three entirely different looks with product photography
Product photography is one of my favorite things to do. I love capturing the different angles of each product. It’s interesting to see how the background of your product can change the entire look and feel of the product itself.
White Background
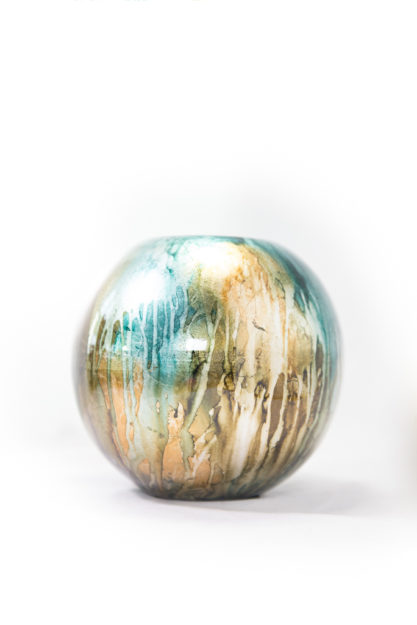
A white background is sterile and clean. It allows the customer to focus on the product without distractions. Product photography with a white background works best with art products, sculptures and simple products that need. Apple has perhaps made white background product photography the most famous. Check out Apple’s white background product photography setup.
Grey gives it warmth and depth
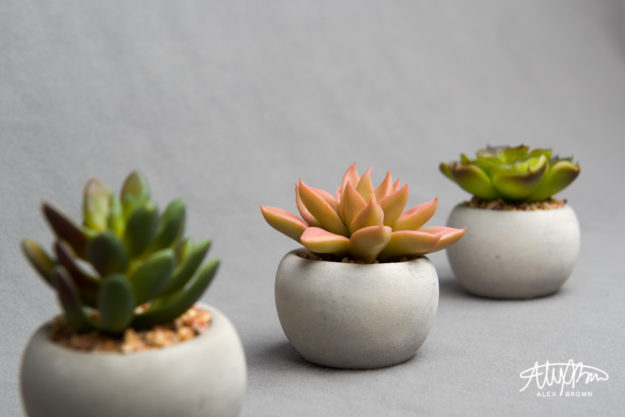
This is a great example of how a grey background creates depth and warmth to product photography. Combined with the focus on the middle succulent and the light placement to the right depth and warmth is being created.
On Scene
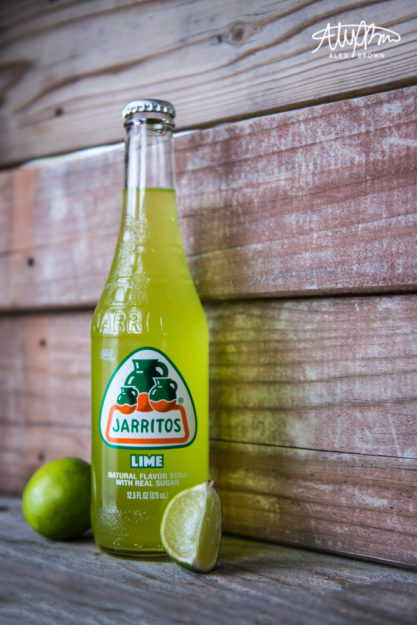
This is a newer trend in product photography and taking this shot was something I enjoyed because it’s different from what I usually do for product photography.
Check out these tips on how to make DIY product photography even better!


